|
 |
-
Open Outlook Express.

-
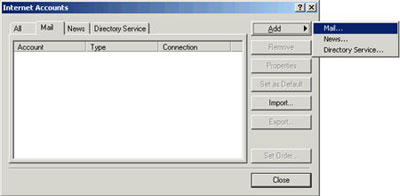
From the Tools menu, choose Accounts.
Note: If you have never configured, or used, your Outlook Express email program, at this point the Internet Connection Wizard will open automatically. In such a situation, go directly to step 5.

-
Click the Add button and choose Mail.
-
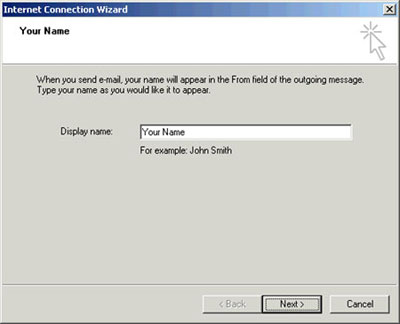
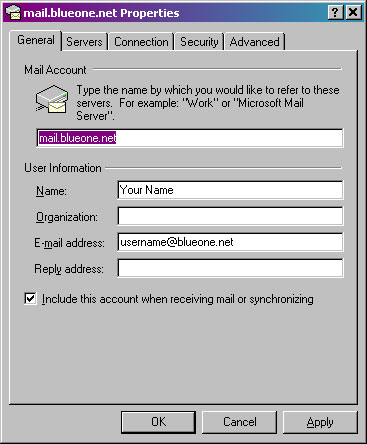
In the Display name field, type your full name.
-
Click the Next button.
-
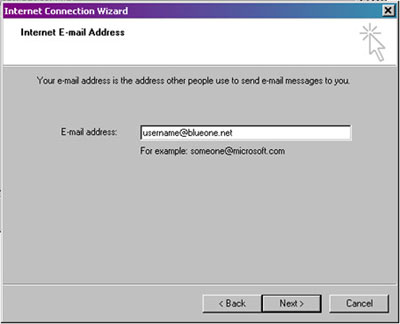
In the E-mail address field, type your email address.
-
Click the Next button.
-
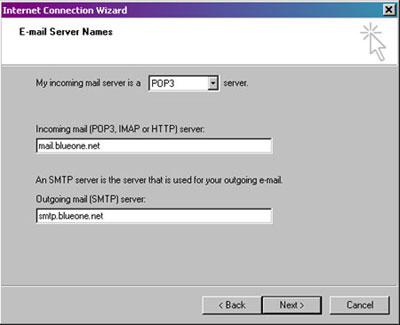
Click the down arrow on the My incoming mail is a ____ server drop-down list and choose POP3.
-
In the Incoming mail (POP3, IMAP or HTTP) server field, type the POP3 server name, mail.blueone.net.
-
In the Outgoing mail (SMTP) server field, type the SMTP server name, smtp.blueone.net.
-
Click the Next button.
-
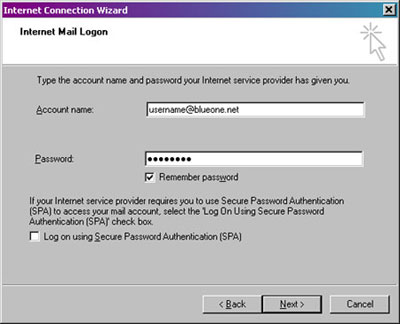
In the Account name field, type your full email address..
-
In the Password field, type your email password.
-
Check the box next to Remember password if you wish to save your password.
-
Click the Next button.
-
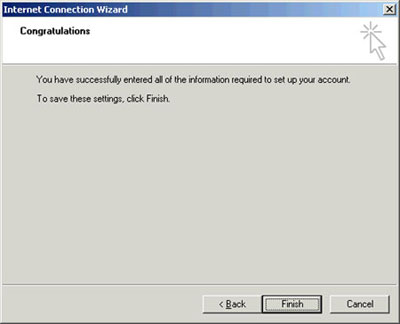
Click the Finish button.
-
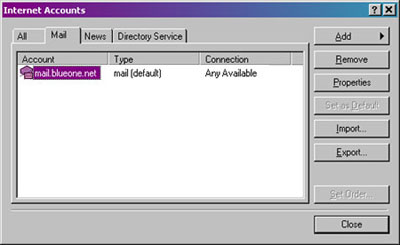
Highlight your new email account and click the Properties button.
-
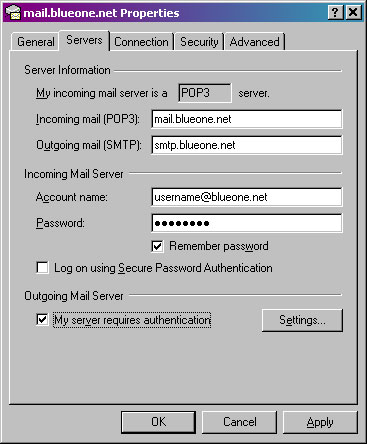
Click the Servers tab.
-
Check the box next to My server requires authentication.
-
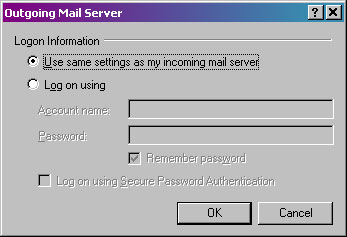
Click the Settings button.
-
Choose Use same settings as my incoming mail server.
-
Click the OK button.
-
Click the OK button.
-
Click the Close button.
|
| You have successfully configured Outlook Express. |
|
 |
|
|
|
|